1951 Chevrolet Wiring Diagram Explained
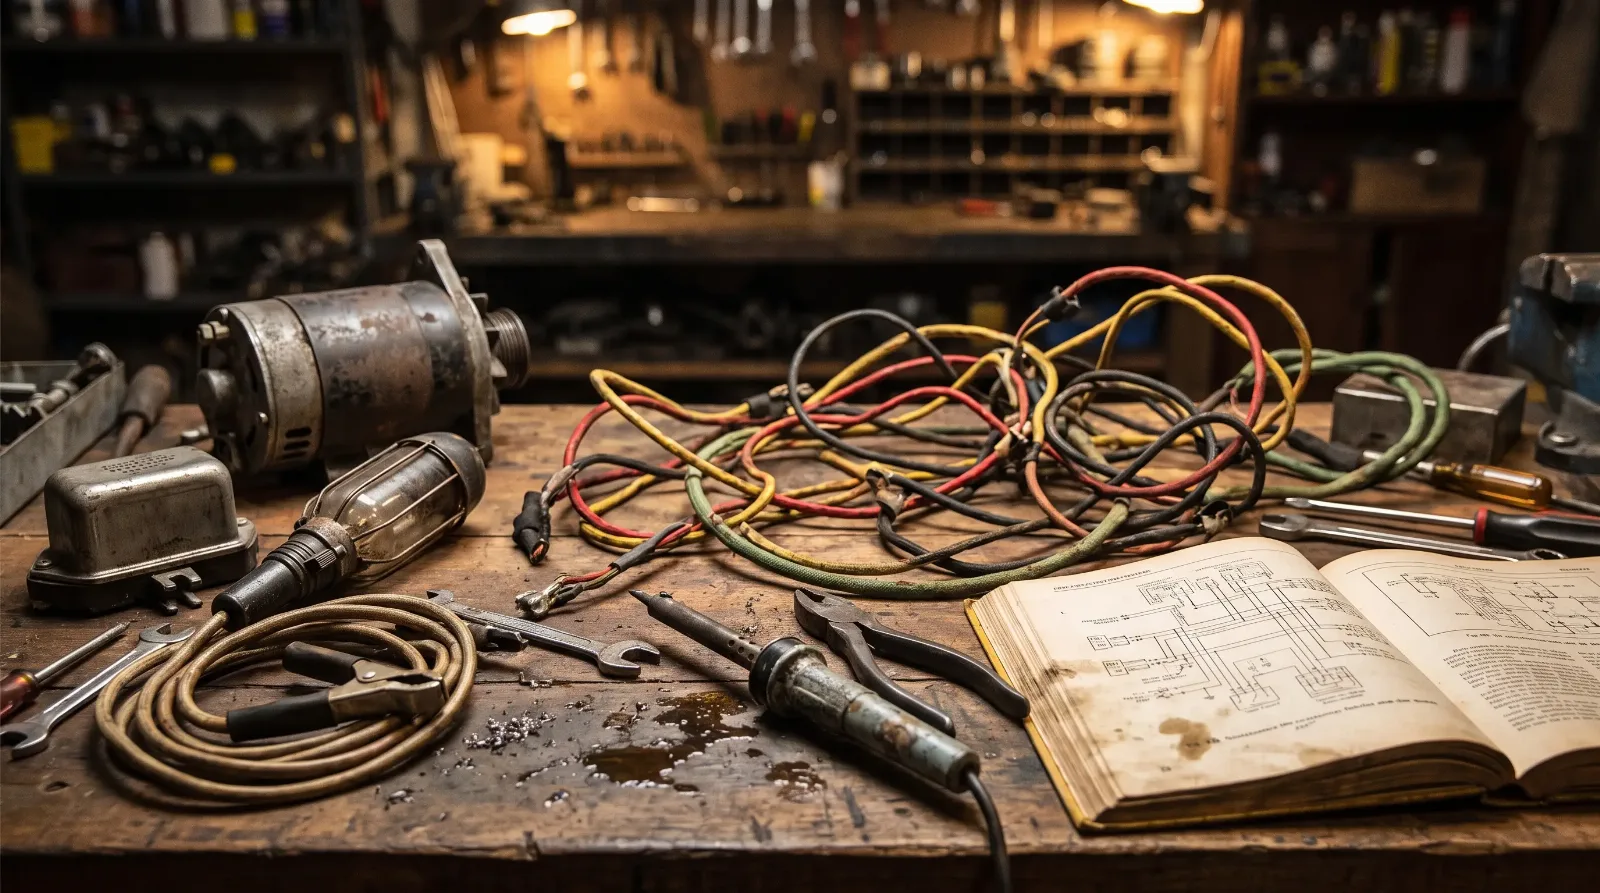
A wiring diagram is the map that keeps a 70-year-old car honest. When the taillights quit or the horn goes dead on a Sunday drive, the factory diagram tells you where the current is supposed to go, and just as important, where it stops going. The 1951 Chevrolet Wiring Diagram Explained here walks through the whole electrical picture on these cars, section by section, the way I trace it on the bench before I ever pull a single wire. If you own one of these, or you just bought a project, this is the first sheet of paper you should have taped to the fender.
These systems are simple by modern standards, and that simplicity is your friend. There is no computer to fault-code you, no CAN bus to chase. There is a battery, a generator, a handful of circuits, and good honest copper. Learn to read the diagram and most of the mystery goes away.
The 1951 Chevrolet electrical system at a glance
The 1951 Chevrolet ran a 6-volt electrical system with negative ground. That last part trips people up more than anything else, because a lot of other 6-volt cars of the era, Fords and Chrysler products among them, were positive ground. Chevrolet was not. On a negative-ground car the negative battery cable bolts to the frame or engine block, and the positive side feeds the car. Hook it up backward and you will cook a fuel gauge or worse, so confirm the polarity before you connect a battery.
Six volts gets a bad reputation it does not deserve. A 6-volt system starts a Stovebolt six just fine when the cables are the right gauge, the grounds are clean, and the battery is healthy. Most of the complaints I hear about weak 6-volt starting come down to thin reproduction cables and a bad ground, not the voltage itself. The charging side uses a generator and a separate voltage regulator rather than an alternator, and the whole thing was built to be serviced with hand tools in a home garage.
If you want the broader picture of the car these circuits live in, the 1951 Chevrolet came in several body styles, and the basic electrical layout carried across the line with only trim-level differences in lighting and accessories.
How to read the factory wiring diagram
A factory diagram looks like a plate of spaghetti until you learn to break it into harness sections. Every 1951 Chevrolet diagram is really just a few smaller circuits drawn on one sheet. Trace them one at a time and it settles right down.
Start at the battery and the starter, because that is where the heavy current lives. From there, follow the main feed to the ignition switch, then out to the coil and distributor. That is your ignition and coil circuit, and if the car will not run, this is where you look first. Next find the charging loop: the generator, the voltage regulator, and the wire back to the battery. That is the circuit that keeps everything else alive while the engine turns.
The rest of the diagram fans out into lighting and accessories. Headlamps and parking lamps run off the light switch. The gauges, ammeter, fuel, temperature, and oil, tie back through the ignition switch. The horn has its own relay path, and the interior lighting taps in through the door switches. Once you can point to those groups on the sheet, you can follow any single wire from one end to the other without losing your place.
Main circuits at a glance
Here is how the major circuits break down on a 1951 Chevrolet. Treat the wire colors as a starting point only. Colors faded, harnesses got replaced, and reproduction looms do not always follow the original scheme, so verify every color against your own car and a clean factory diagram before you cut anything.
| Circuit | Main components | Wire color (see factory diagram) | What it does |
|---|---|---|---|
| Starting | Battery, starter, starter switch | See factory diagram | Heavy current to crank the engine |
| Ignition and coil | Ignition switch, coil, distributor | See factory diagram | Fires the spark plugs |
| Charging | Generator, voltage regulator | See factory diagram | Keeps the battery charged while running |
| Headlamps and parking | Light switch, headlamps, parking lamps | See factory diagram | Front lighting and marker lamps |
| Gauges | Ammeter, fuel, temperature, oil | See factory diagram | Instrument readings on the dash |
| Horn | Horn, horn relay, horn button | See factory diagram | Sounds the horn through the relay |
| Interior | Dome lamp, door switches | See factory diagram | Cabin lighting and courtesy lamps |
I left the color column marked for verification on purpose. On a car this old the single most common mistake is trusting a color that somebody changed decades ago. The circuit layout is reliable. The exact color of any given strand is not, until you confirm it.
Common electrical problems on a 70-year-old six
After you have chased enough of these, the same handful of gremlins shows up again and again. Grounds are number one. A 6-volt system has no headroom for a lazy ground, so any paint, rust, or crust between a component and bare metal shows up as dim lights and slow cranking. I clean every ground point down to shiny steel and I add a ground strap from the engine to the frame if the car does not have a good one.
Brittle insulation is next. Seventy years of heat cycles turn old cloth and rubber insulation hard, and it cracks right off the copper. Once bare wires start touching each other or the body, you get shorts that blow fuses or start fires. If the harness looks like it is shedding its skin, plan on replacing it rather than patching it.
The generator and regulator give trouble too. A generator that will not charge is often a stuck regulator, worn brushes, or a generator that needs polarizing after service. And 6-volt starting complaints, as I said, usually trace back to undersized cables and bad connections rather than the battery itself.
Rewiring tips and keeping it correct
When the old harness is done, you have a decision to make: rewire it as a 6-volt car or convert to 12 volts. I lean toward keeping it 6-volt and negative-ground if the car is otherwise original, because a good 6-volt system works and it keeps the car honest, and the case for and against a 6 volt to 12 volt conversion is worth reading before you decide. Reproduction harnesses for the 1951 Chevrolet are available and they take a lot of the guesswork out, since a quality loom comes pre-terminated and color-coded to a factory pattern. Buy from a supplier who lists the correct year and body style, and check their diagram against yours before you commit.
Converting to 12 volts is a legitimate choice if you want easier starting, brighter lights, and modern accessories. Just know it is a project, not a swap of one wire. You change the battery, the generator or alternator, the coil, the regulator setup, the bulbs, and often the gauges or their voltage feed. Do it deliberately and document what you change, because the next owner will thank you.
Whichever road you take, label as you go and photograph the old harness before you pull it. A wiring diagram accompanies this article to guide the layout, and a labeled harness plus that diagram will get you back together without a single guess. While you are in restoration mode, it is worth confirming the car's factory paint colors too, since a correct color and a correct harness are the kind of details that separate a driver from a keeper.
"Folks blame six volts for every no-start. Nine times out of ten it is a dirty ground or a skinny cable, not the system. Clean your grounds, run the right cable, and a 6-volt Chevy cranks like it should."
— Earl Dawson
Where the original diagram came from
The wiring diagram most restorers use came straight out of the factory shop and service manuals that Chevrolet published for its dealers and mechanics. Those manuals laid out each circuit for the technicians who serviced these cars when they were new, which is why the diagrams are accurate and complete in a way that no sketch on a napkin will ever be. Original and reproduction copies of the 1951 shop manual still circulate, and a clean scan of that factory diagram is the single best reference you can put on your workbench. Start there, trace one circuit at a time, and the electrical system on these cars stops being a mystery. Where the electrical work belongs in the order of a whole job is set out in the order of a full restoration.
Sources and notes
- Old Car Manual Project: Chevrolet factory wiring diagrams archive (includes 1951 passenger car and truck wiring)
- Old Car Manual Project: 1951 Chevrolet owner's manual reprint
- Vintage Chevrolet Club of America forum: "All Chevs are negative ground" (confirms Chevrolet 6-volt cars are negative ground)
- Vintage Chevrolet Club of America forum: "Positive or Negative Ground"
- AutoRestorer: "Working With a Positive Ground" (background on which makes used positive vs. negative ground)
- American Autowire: reproduction and original-style wiring for 1951 Chevrolet
More from the garage
Rebuilding a Chevy 216
Rebuilding a 216 is not like rebuilding anything made after about 1955, and the difference is not the tools. It is that on most engines the botto...
The 1951 Chevrolet Apache
There is no 1951 Chevrolet Apache. The Apache name belongs to the generation of Chevrolet trucks that came after the one built in 1951, and it do...
The 1951 Chevrolet Impala
There is no 1951 Chevrolet Impala. The name did not exist in 1951, the car did not exist in 1951, and nothing Chevrolet built that year was ever...